
Today’s post is going to be pretty short, but it will be stocked with photos and it’s actually the first DIY post in my life. I could do a video, but to be honest, making a 10-minute movie about cutting some aluminium profiles into pieces and joining them with pieces of plastic seems to be pretty boring and senseless to me, so finally I decided to make some photos and share them on my blog in a form of a DIY instruction.
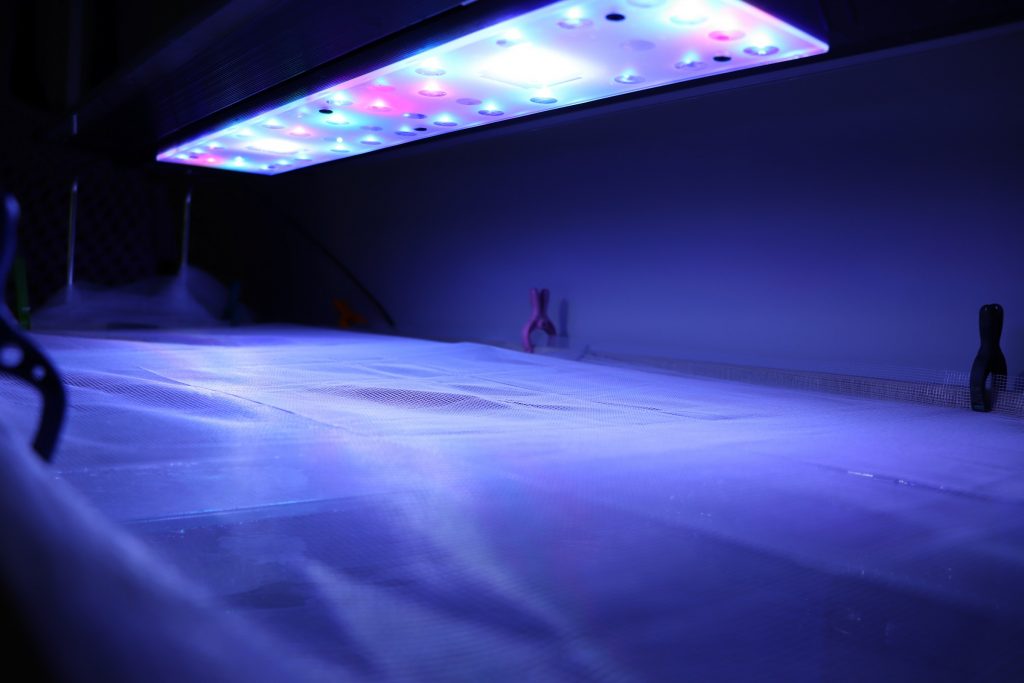
Some of you probably know, that in the beginning of this week I bought a new goby and another fish (let it be a surprise, which I show you soon on my YouTube channel). Unfortunately both of them are very vigorous fish and may jump out of the tank, while my piece of the ocean is an open-top tank with no cover or lid. In the past I used to cover my previous tank with a piece of net, which I bought in the Internet. It was actually a dense mesh, so I covered both the tank and my lamp, to let the light go straight into my nanoreef, without any obstacles like a piece of fabric between them. When I brought my new fish home I realised, that I need to cover my tank somehow and then I remembered about the old mosquito net, which I got some time ago from my parents in-law. They bought it to cover the window, but it turned out to be to small for it, so they didn’t know, what to do with it, so I, as an enthusiast of DIY decided to take it and use it in my tank.
There are many high-end and very aesthetically looking covers and lids available on the market or even these awesome acrylic lids made on demand exactly for your tank, but why don’t to use the old mosquito net, which I got for free? Here’s how I turned it into really nice looking aquarium lid.
To make a lid from an old mosquito net I needed:
- an old mosquito net (which was too small for my parents in-law window);
- some aluminum profiles and other stuff to make a frame (provided with the mosquito net – to fit it to the window);
- pencil, measure and ruler;
- a couple of various clamps;
- hand saw, file and Dremel-type rotary tool with cutting wheels and 2 mm drill;
- sharp knife or scalpel;
- a solid mug of coffee 😁
The concept was pretty simple – to make a frame from the elements included in the set and span the mosquito net on it. The set contained 4 aluminium profiles (2 x 100 cm and 2 x 120 cm), 4 corner joints, a piece of felt strap, 4 pieces of plastic to clip the spanned net and some elements to mount the whole mosquito net to the window, which in this case are useless (photos 1 and 2).

Mosquito net, which will be turned into the aquarium lid 
Elements from the set
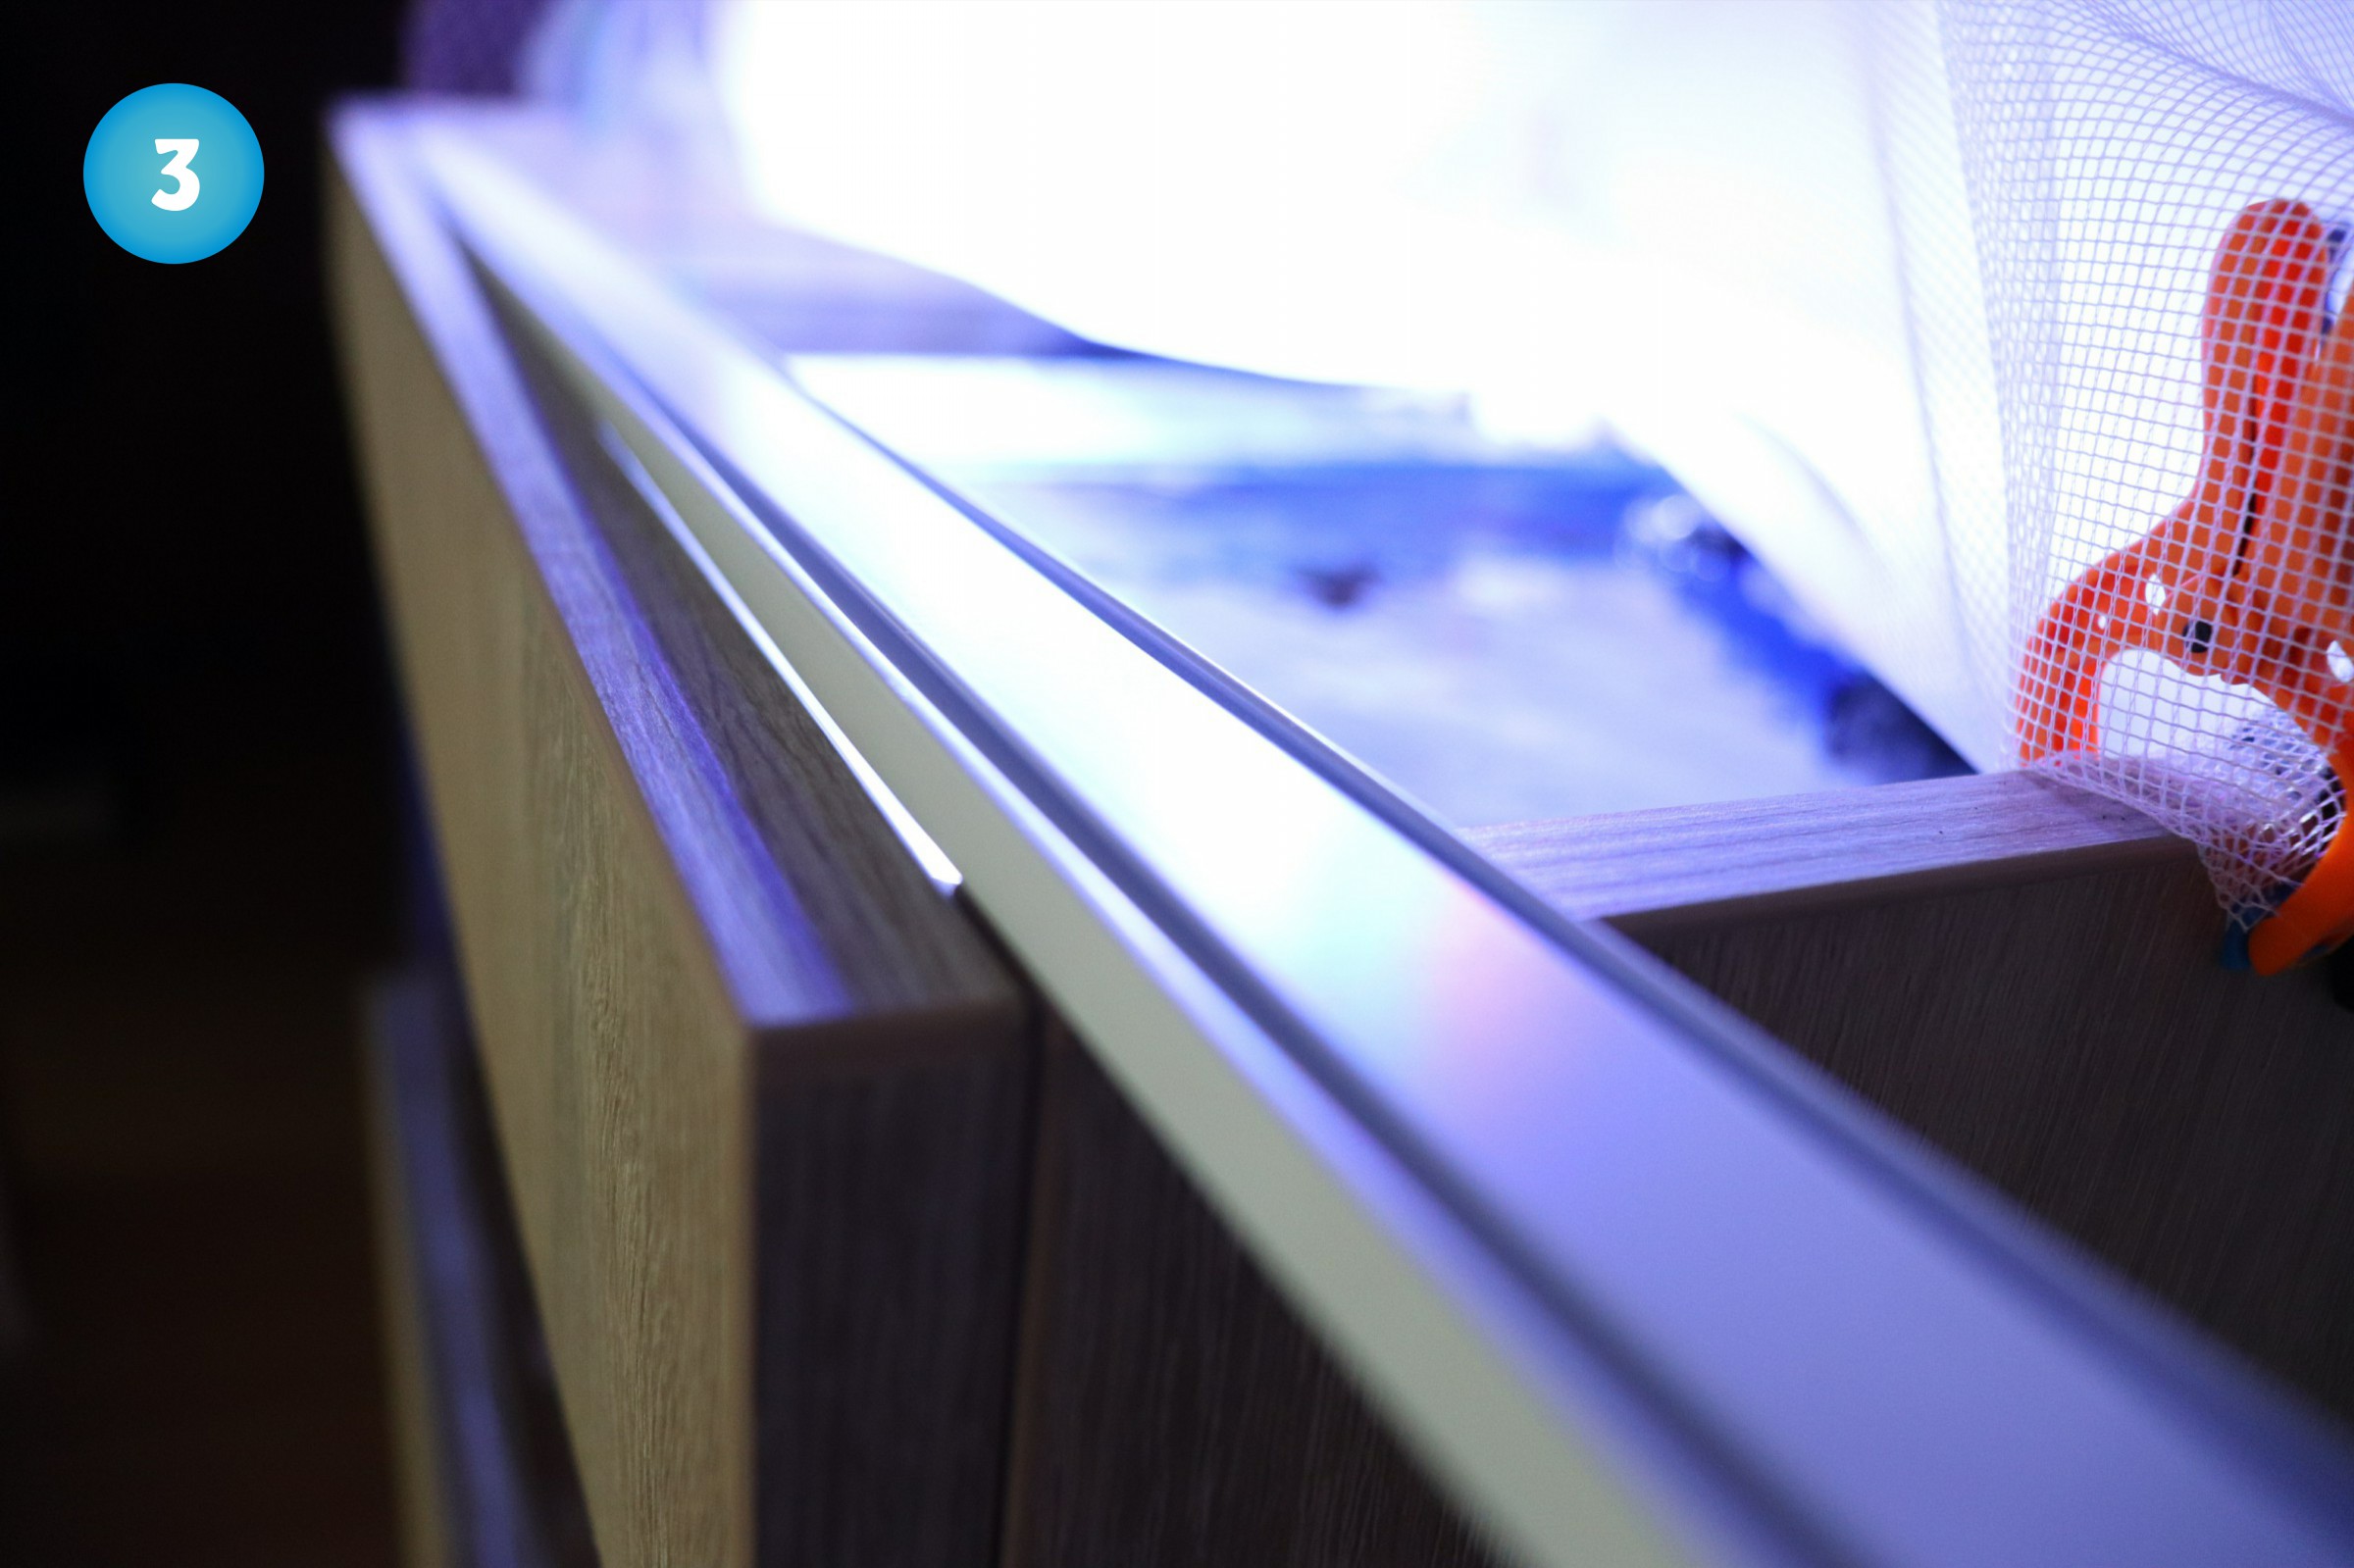
My aquarium is 100 cm long and 50 cm wide, so the first step was cutting the profiles to the desired length (photo 3). Here it is important to take into account the length of corner joints, particularly when we want to fit the lid inside the top wooden frame. Therefore, I put one of the joints into the profile and the second one on the top of it to mark the cut line (photos 4-6). Then I cut the profile with a simple hand saw, smoothed the edges with file, put the second joint into its place and checked, if the lenght of this part of the frame was correct (photos 7 and 8). I did the same with the other profiles, cutting them to the desired length.
The profiles were too long, so it was necessary to cut them 
One of the corner joints on its place during fitting the profile to the wooden frame 
The second joint, placed on the top of the profile to mark the cut line 
Cut line marked 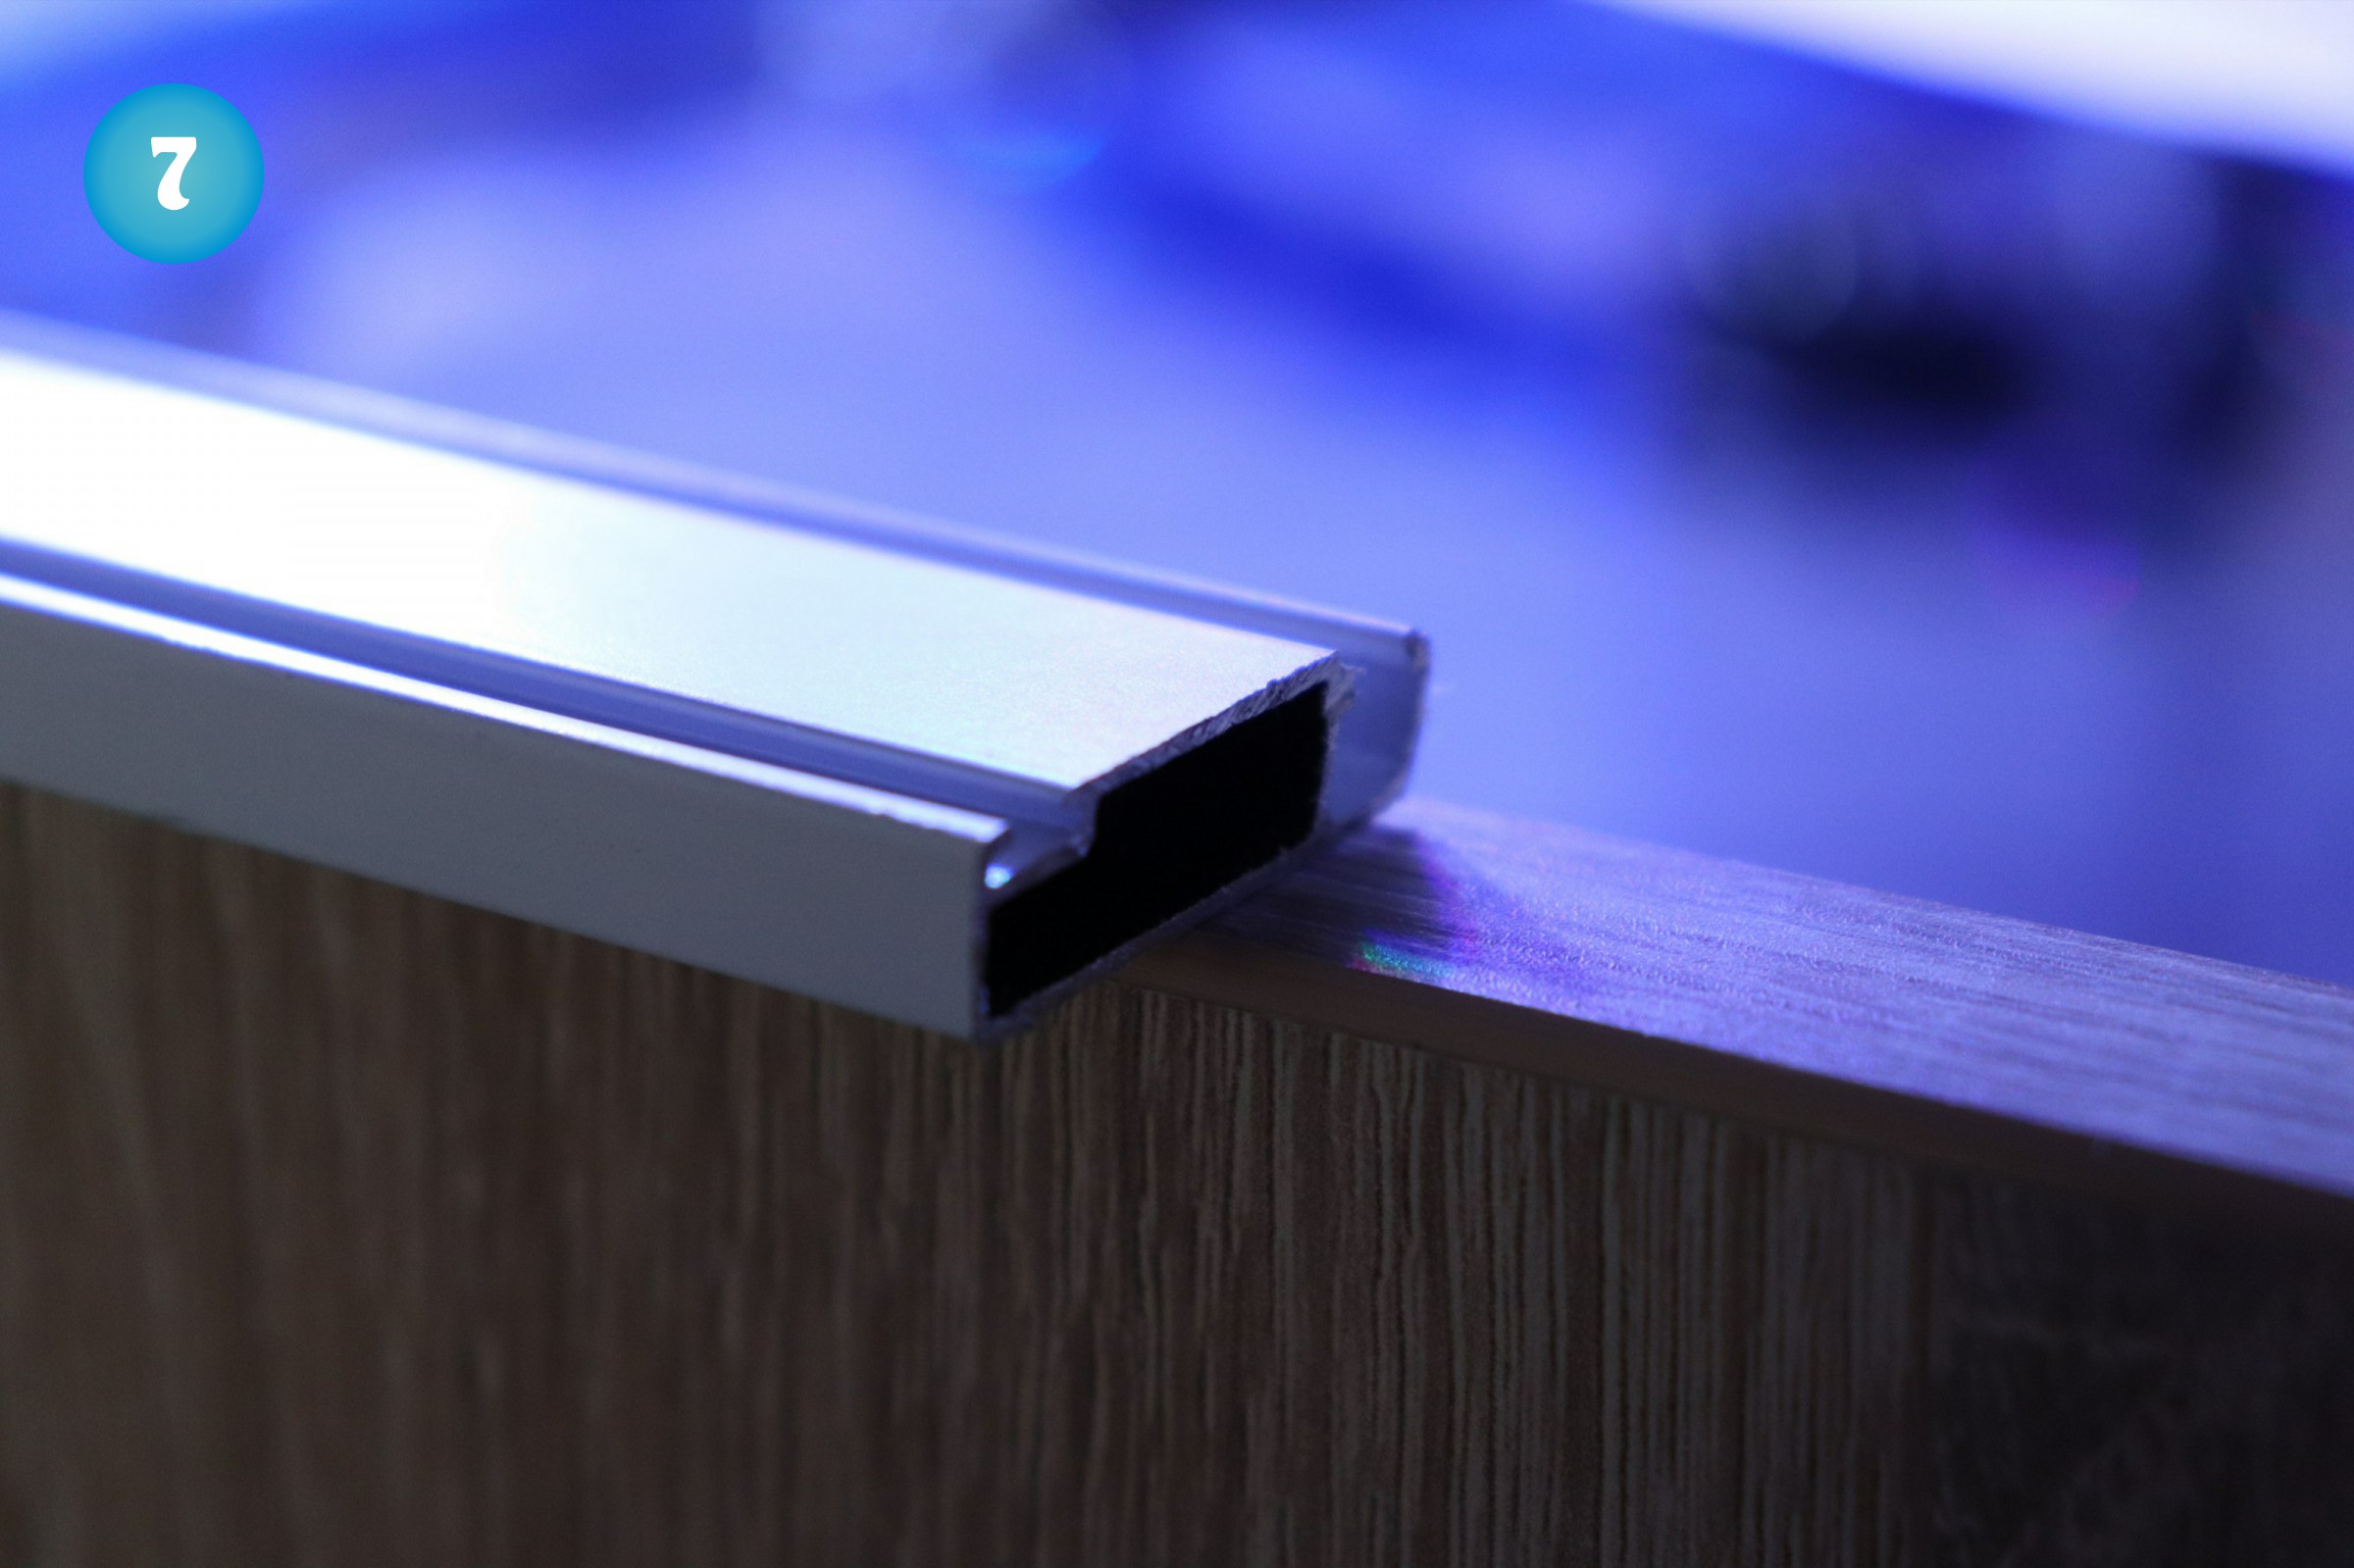
Profile after cutting 
The front part of the frame – ready and fitting
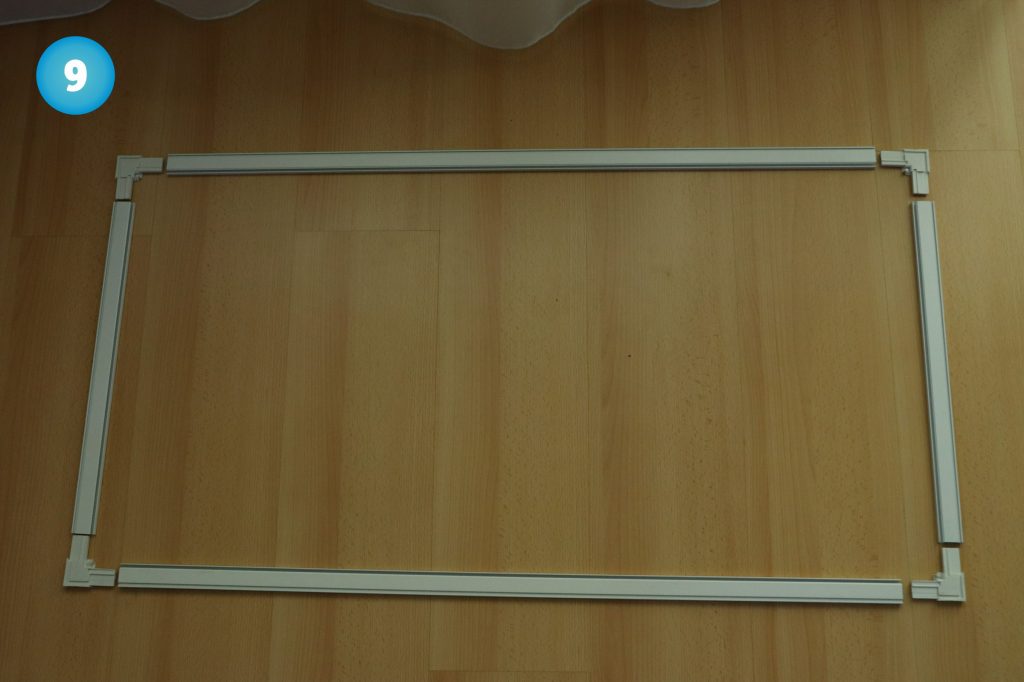
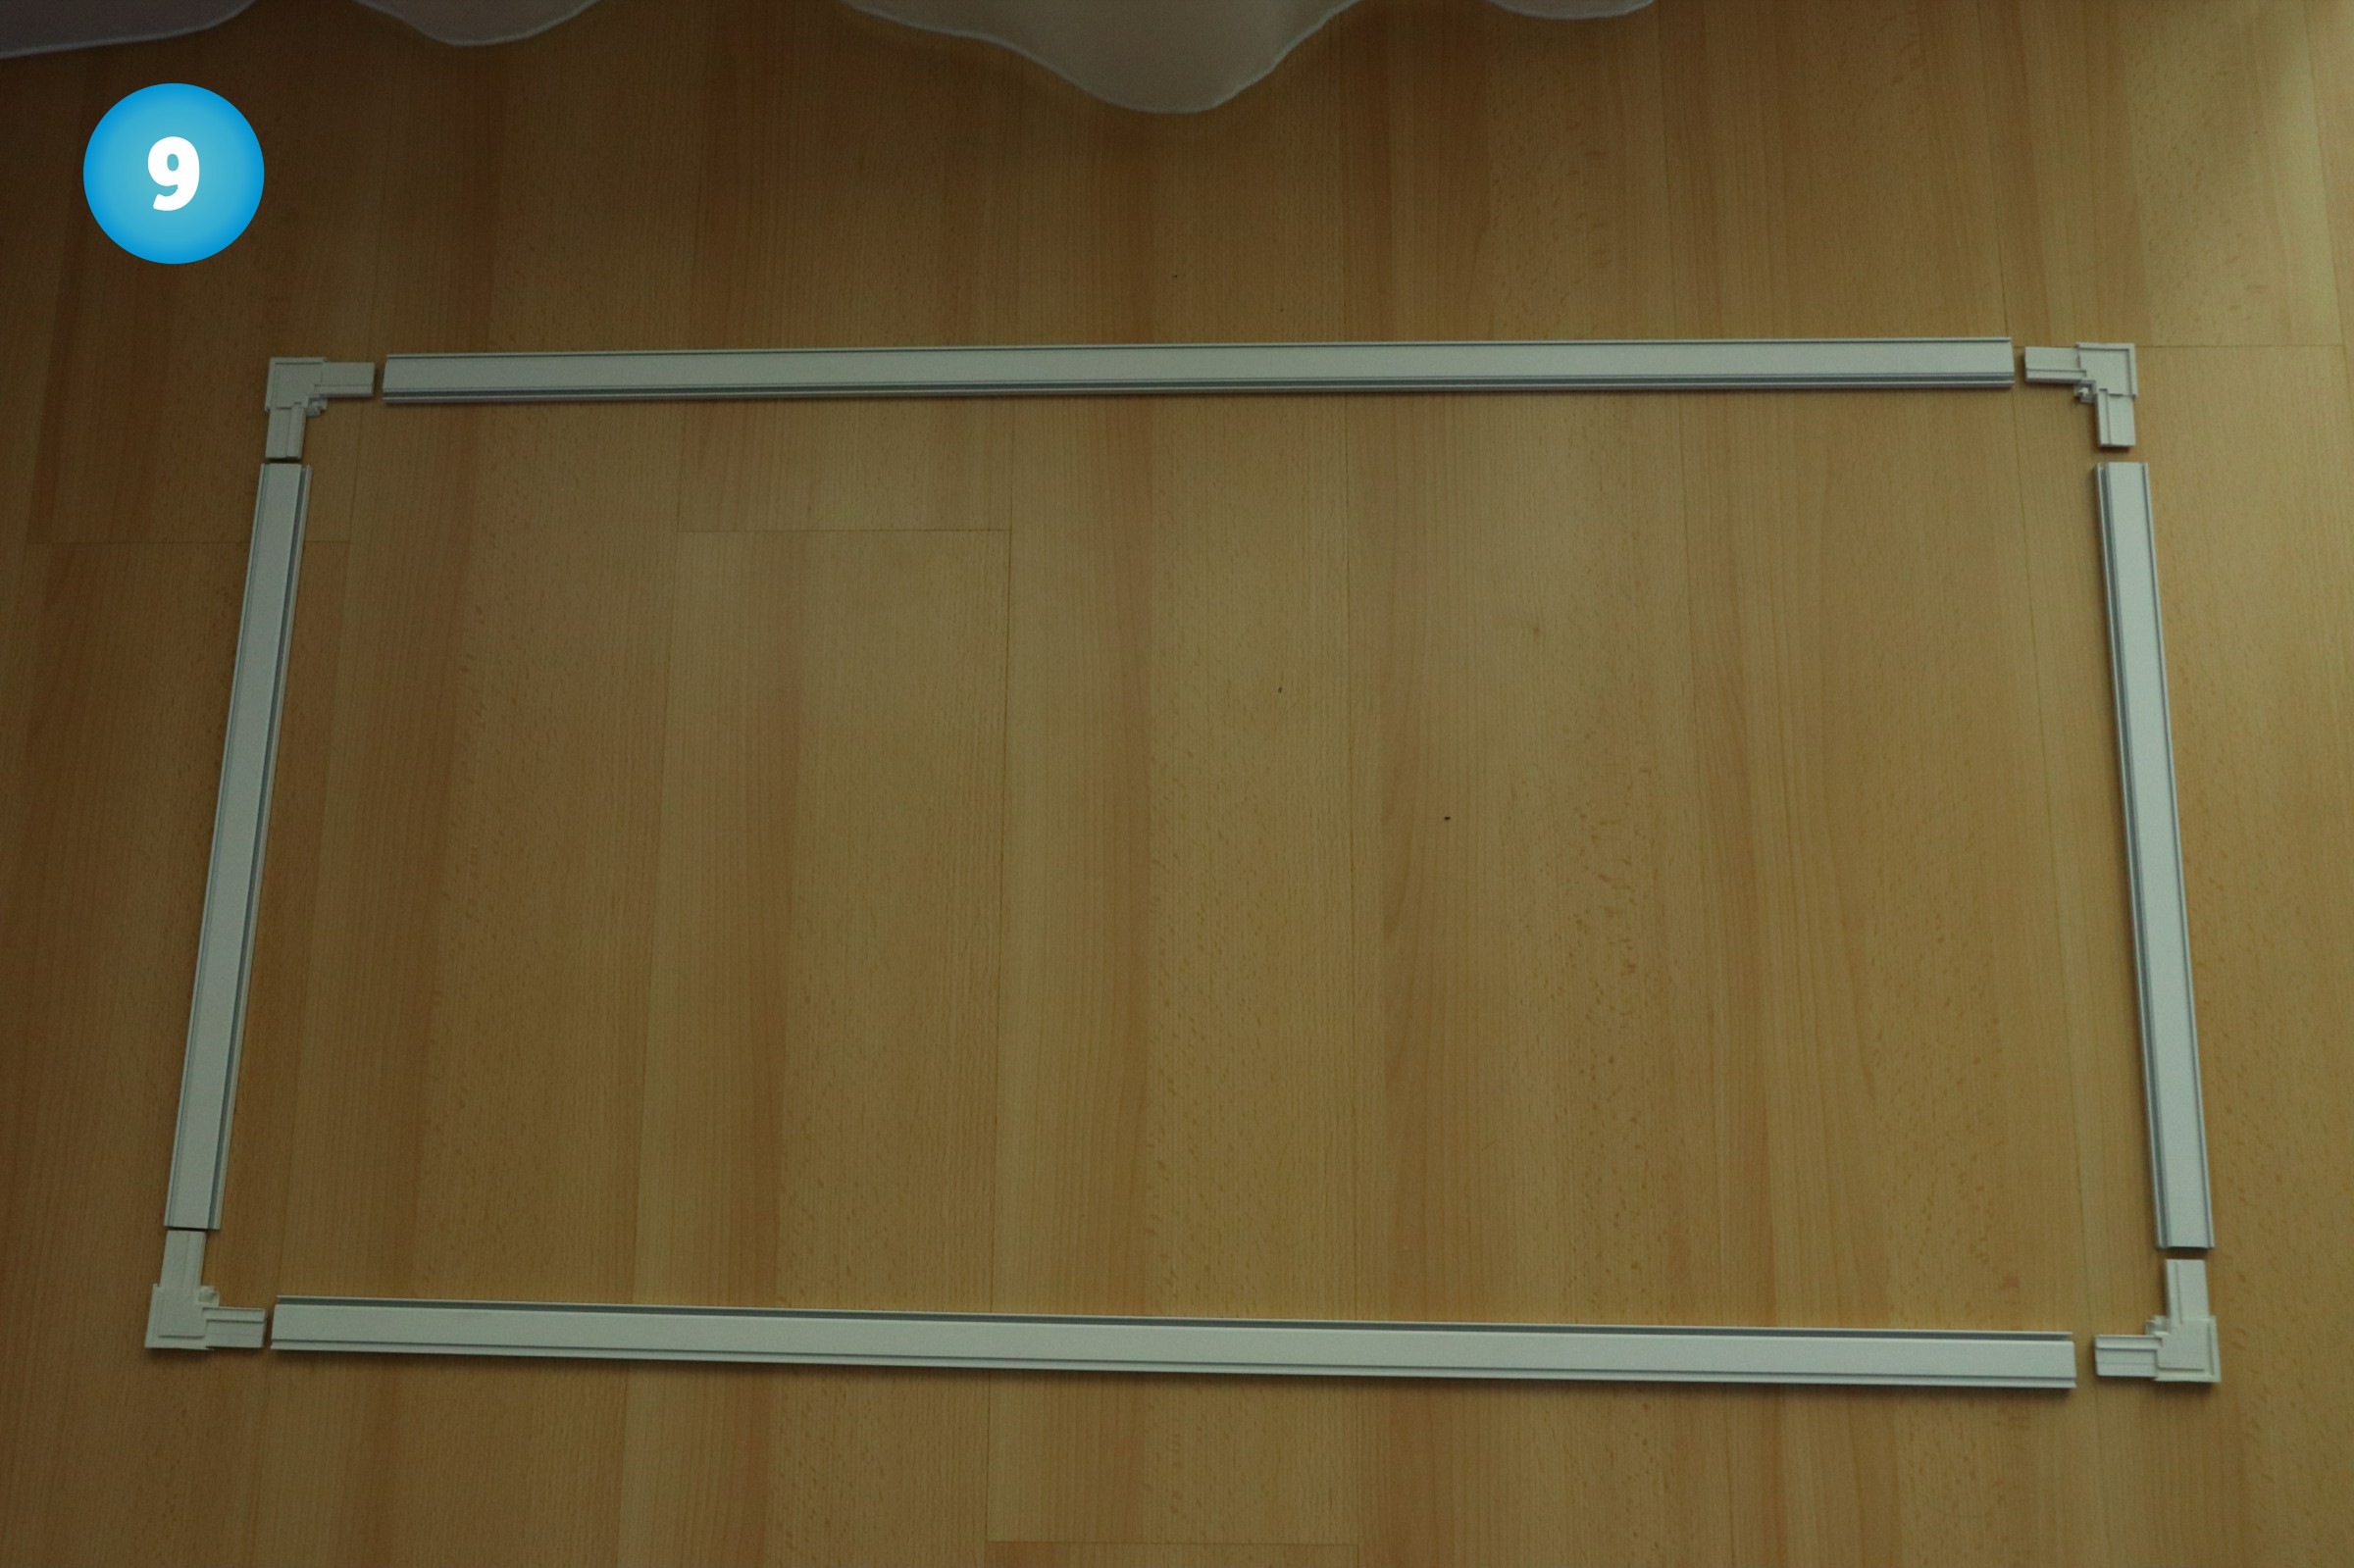
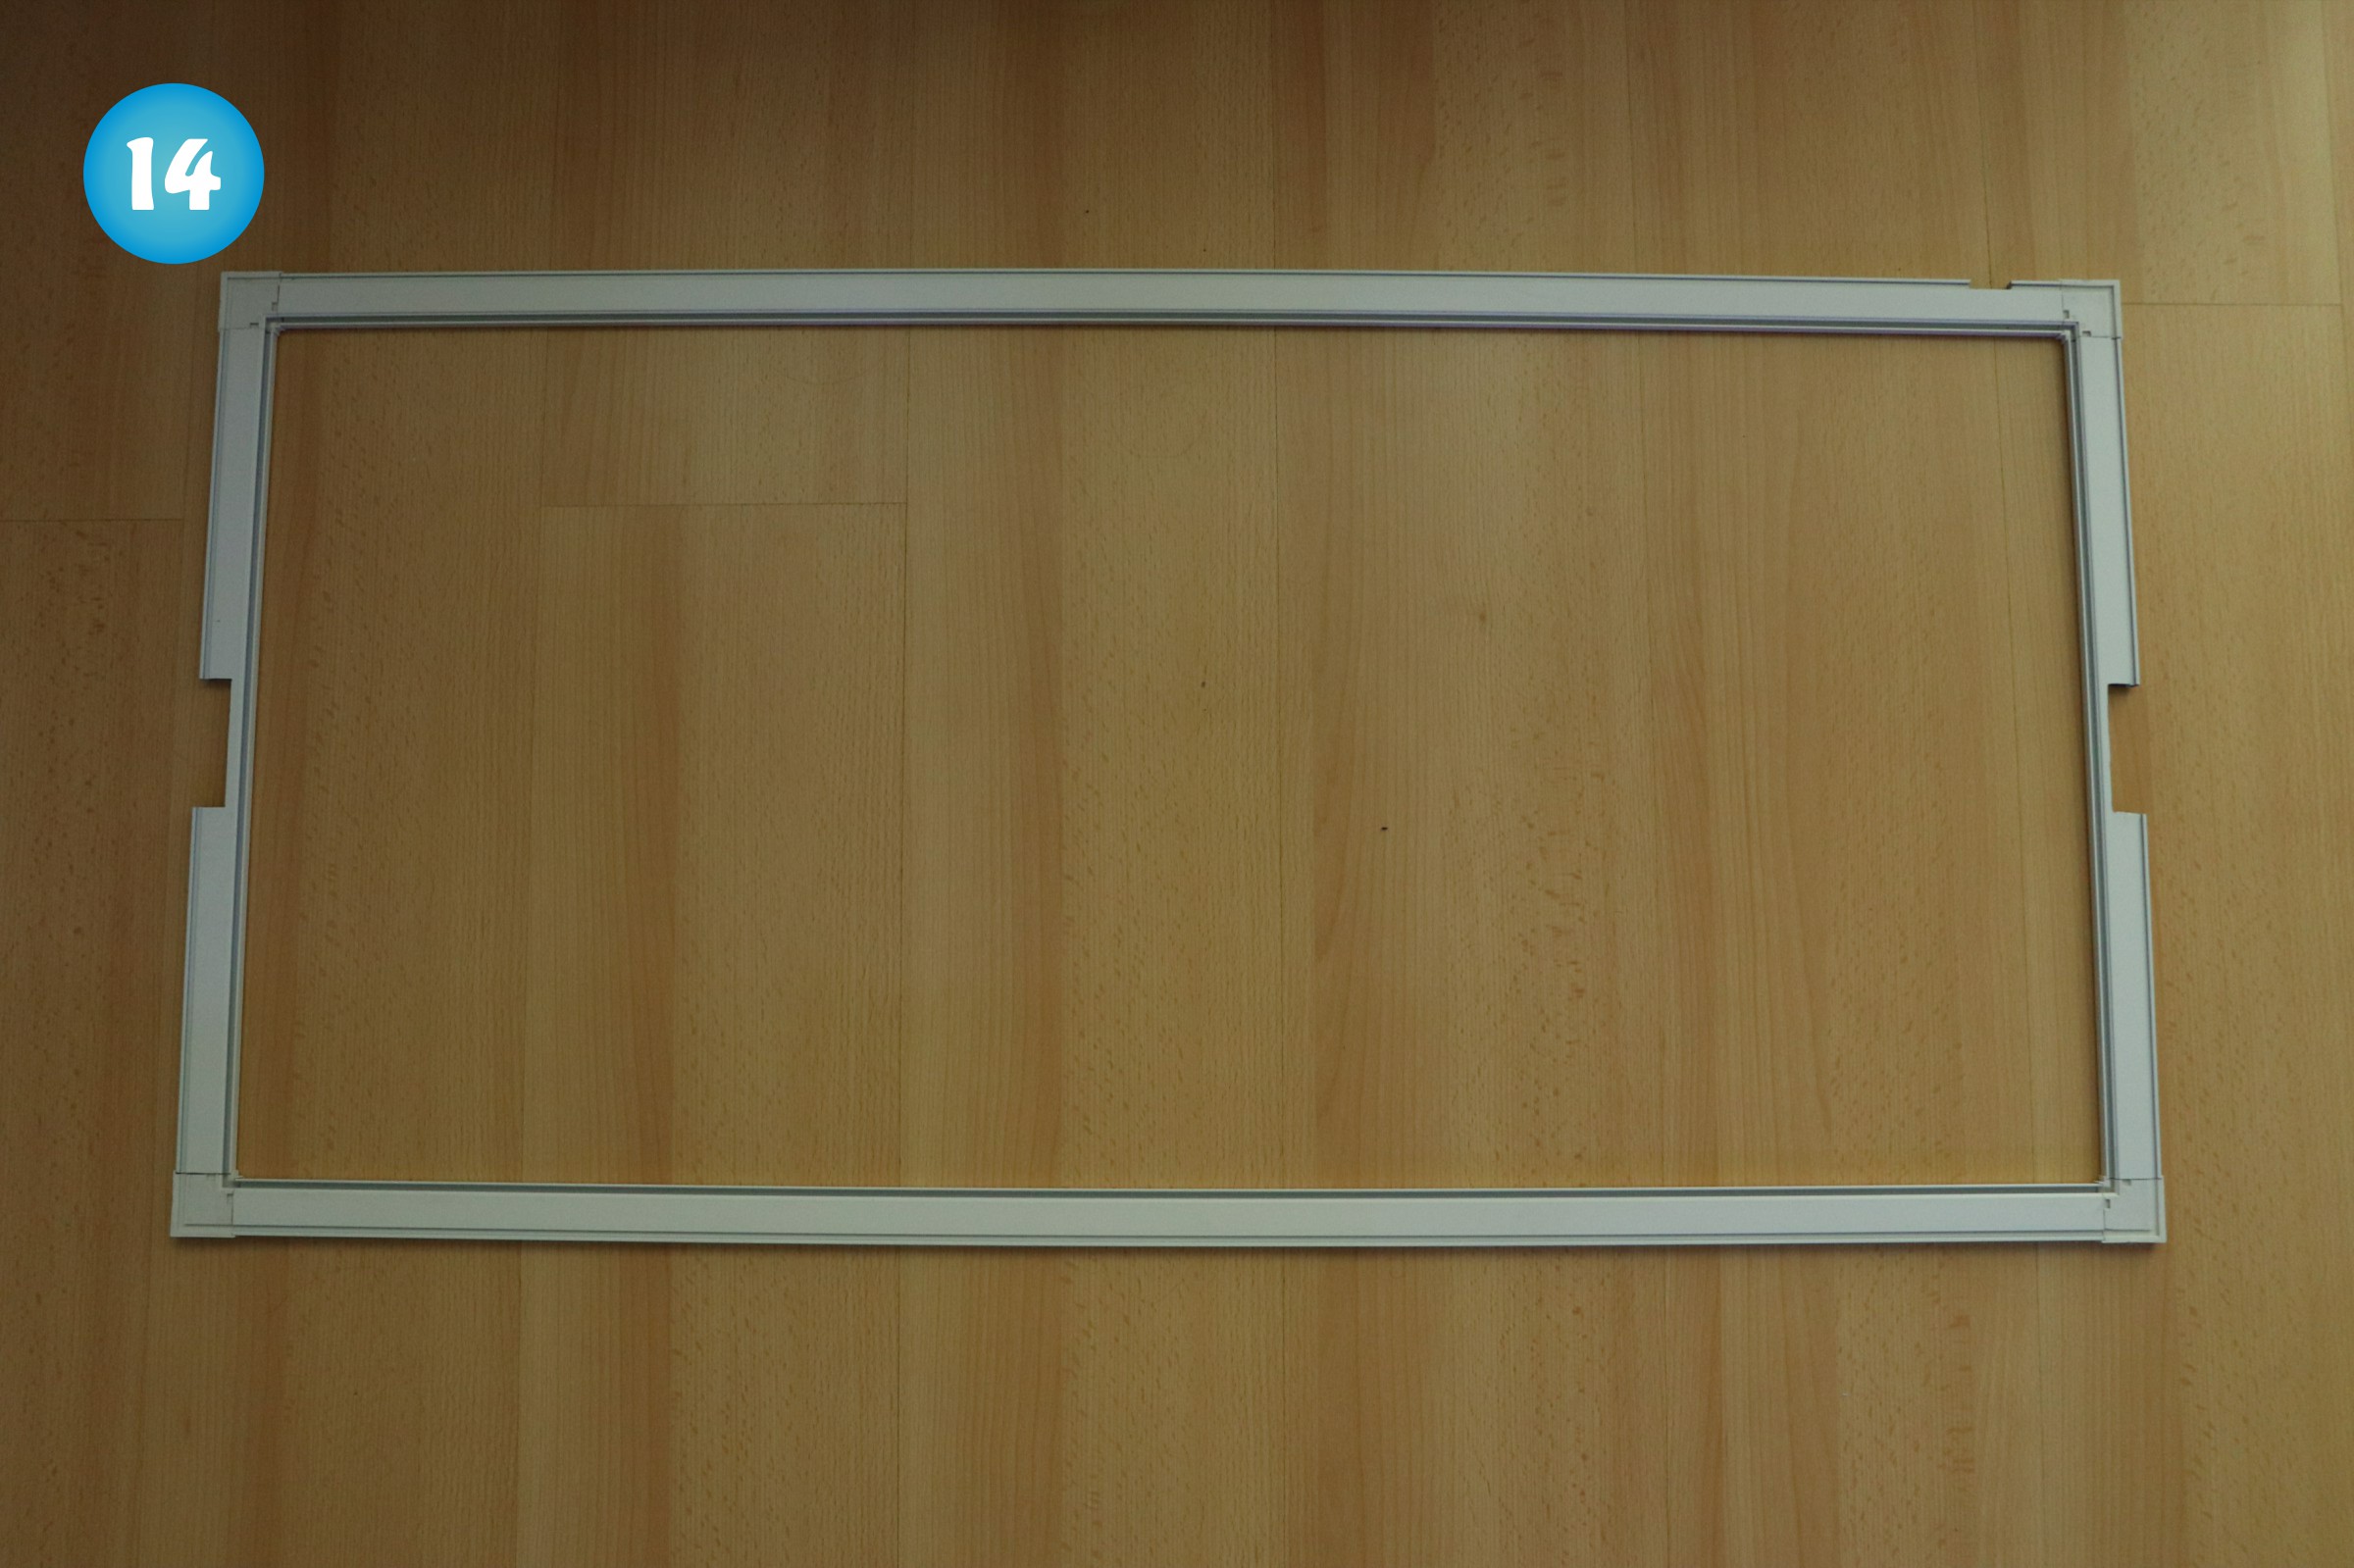
After cutting all the profiles I disassembled the long parts of the frame and assembled the short ones, because I realised, that I have to cut out pieces of profiles from the middle of both side parts to make place for the mounts of my lamp and make the lid easy to open (photos 9-11). Before cutting out the pieces I drilled the holes with 2 mm drill to round the corners and then I used my rotary tool with cutting wheel to cut the profiles (photos 12 and 13). When everything fitted perfectly I assembled the frame into a whole (photo 14).
All profiles cutted down to the desired length 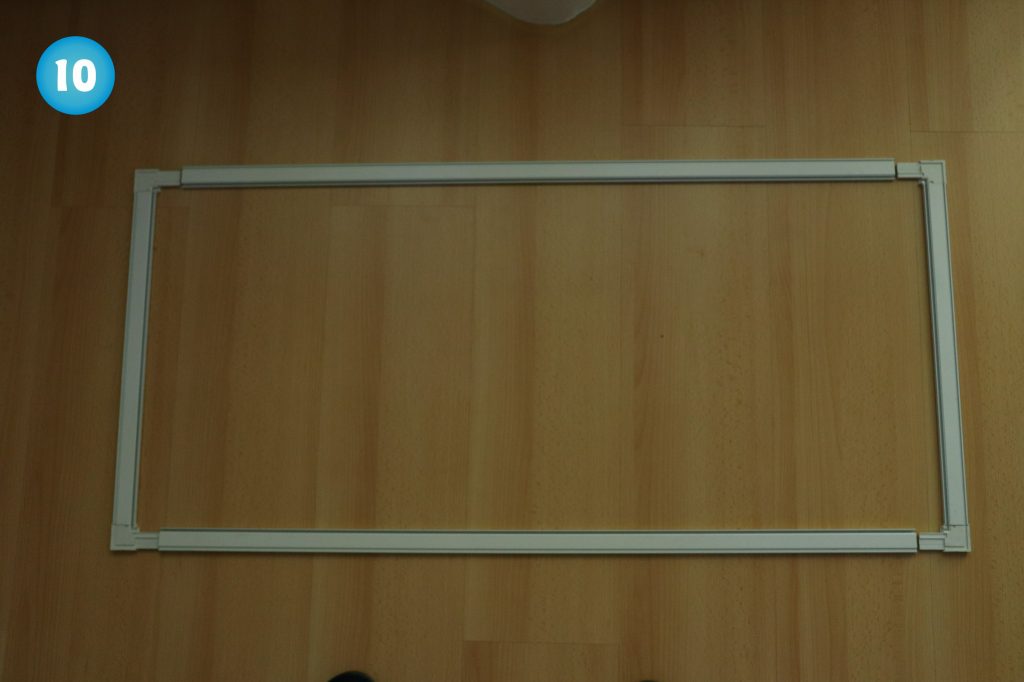
Frame with short parts assembled 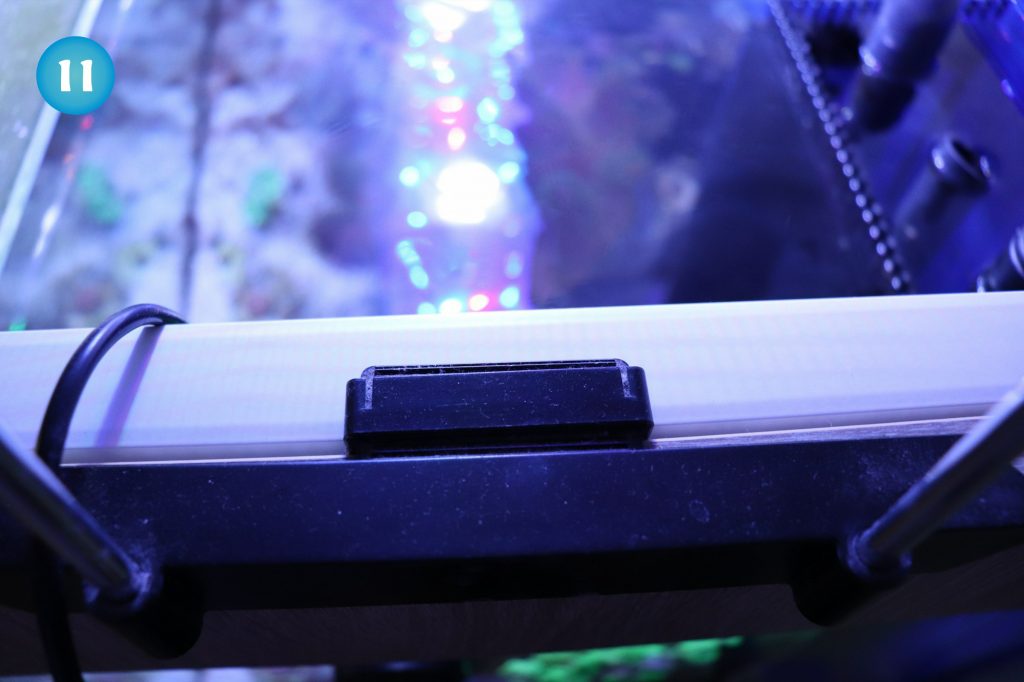
Short part of the frame placed under the lamp mount 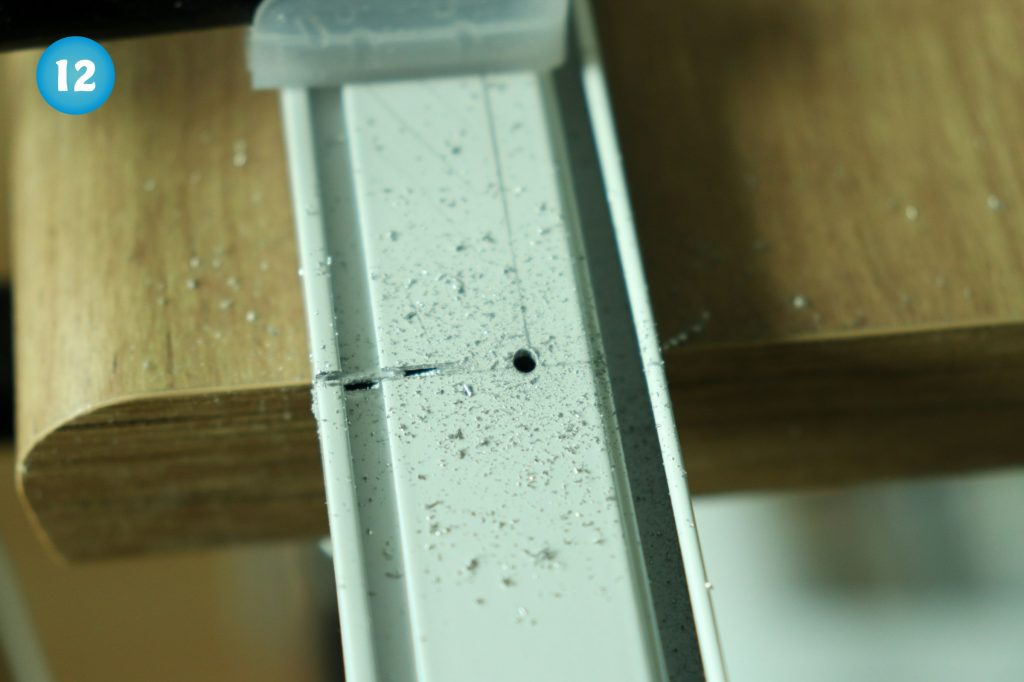
Cutting out a piece of profile to enable the opening of the lid 
Short part of the frame ready 
Assembled frame


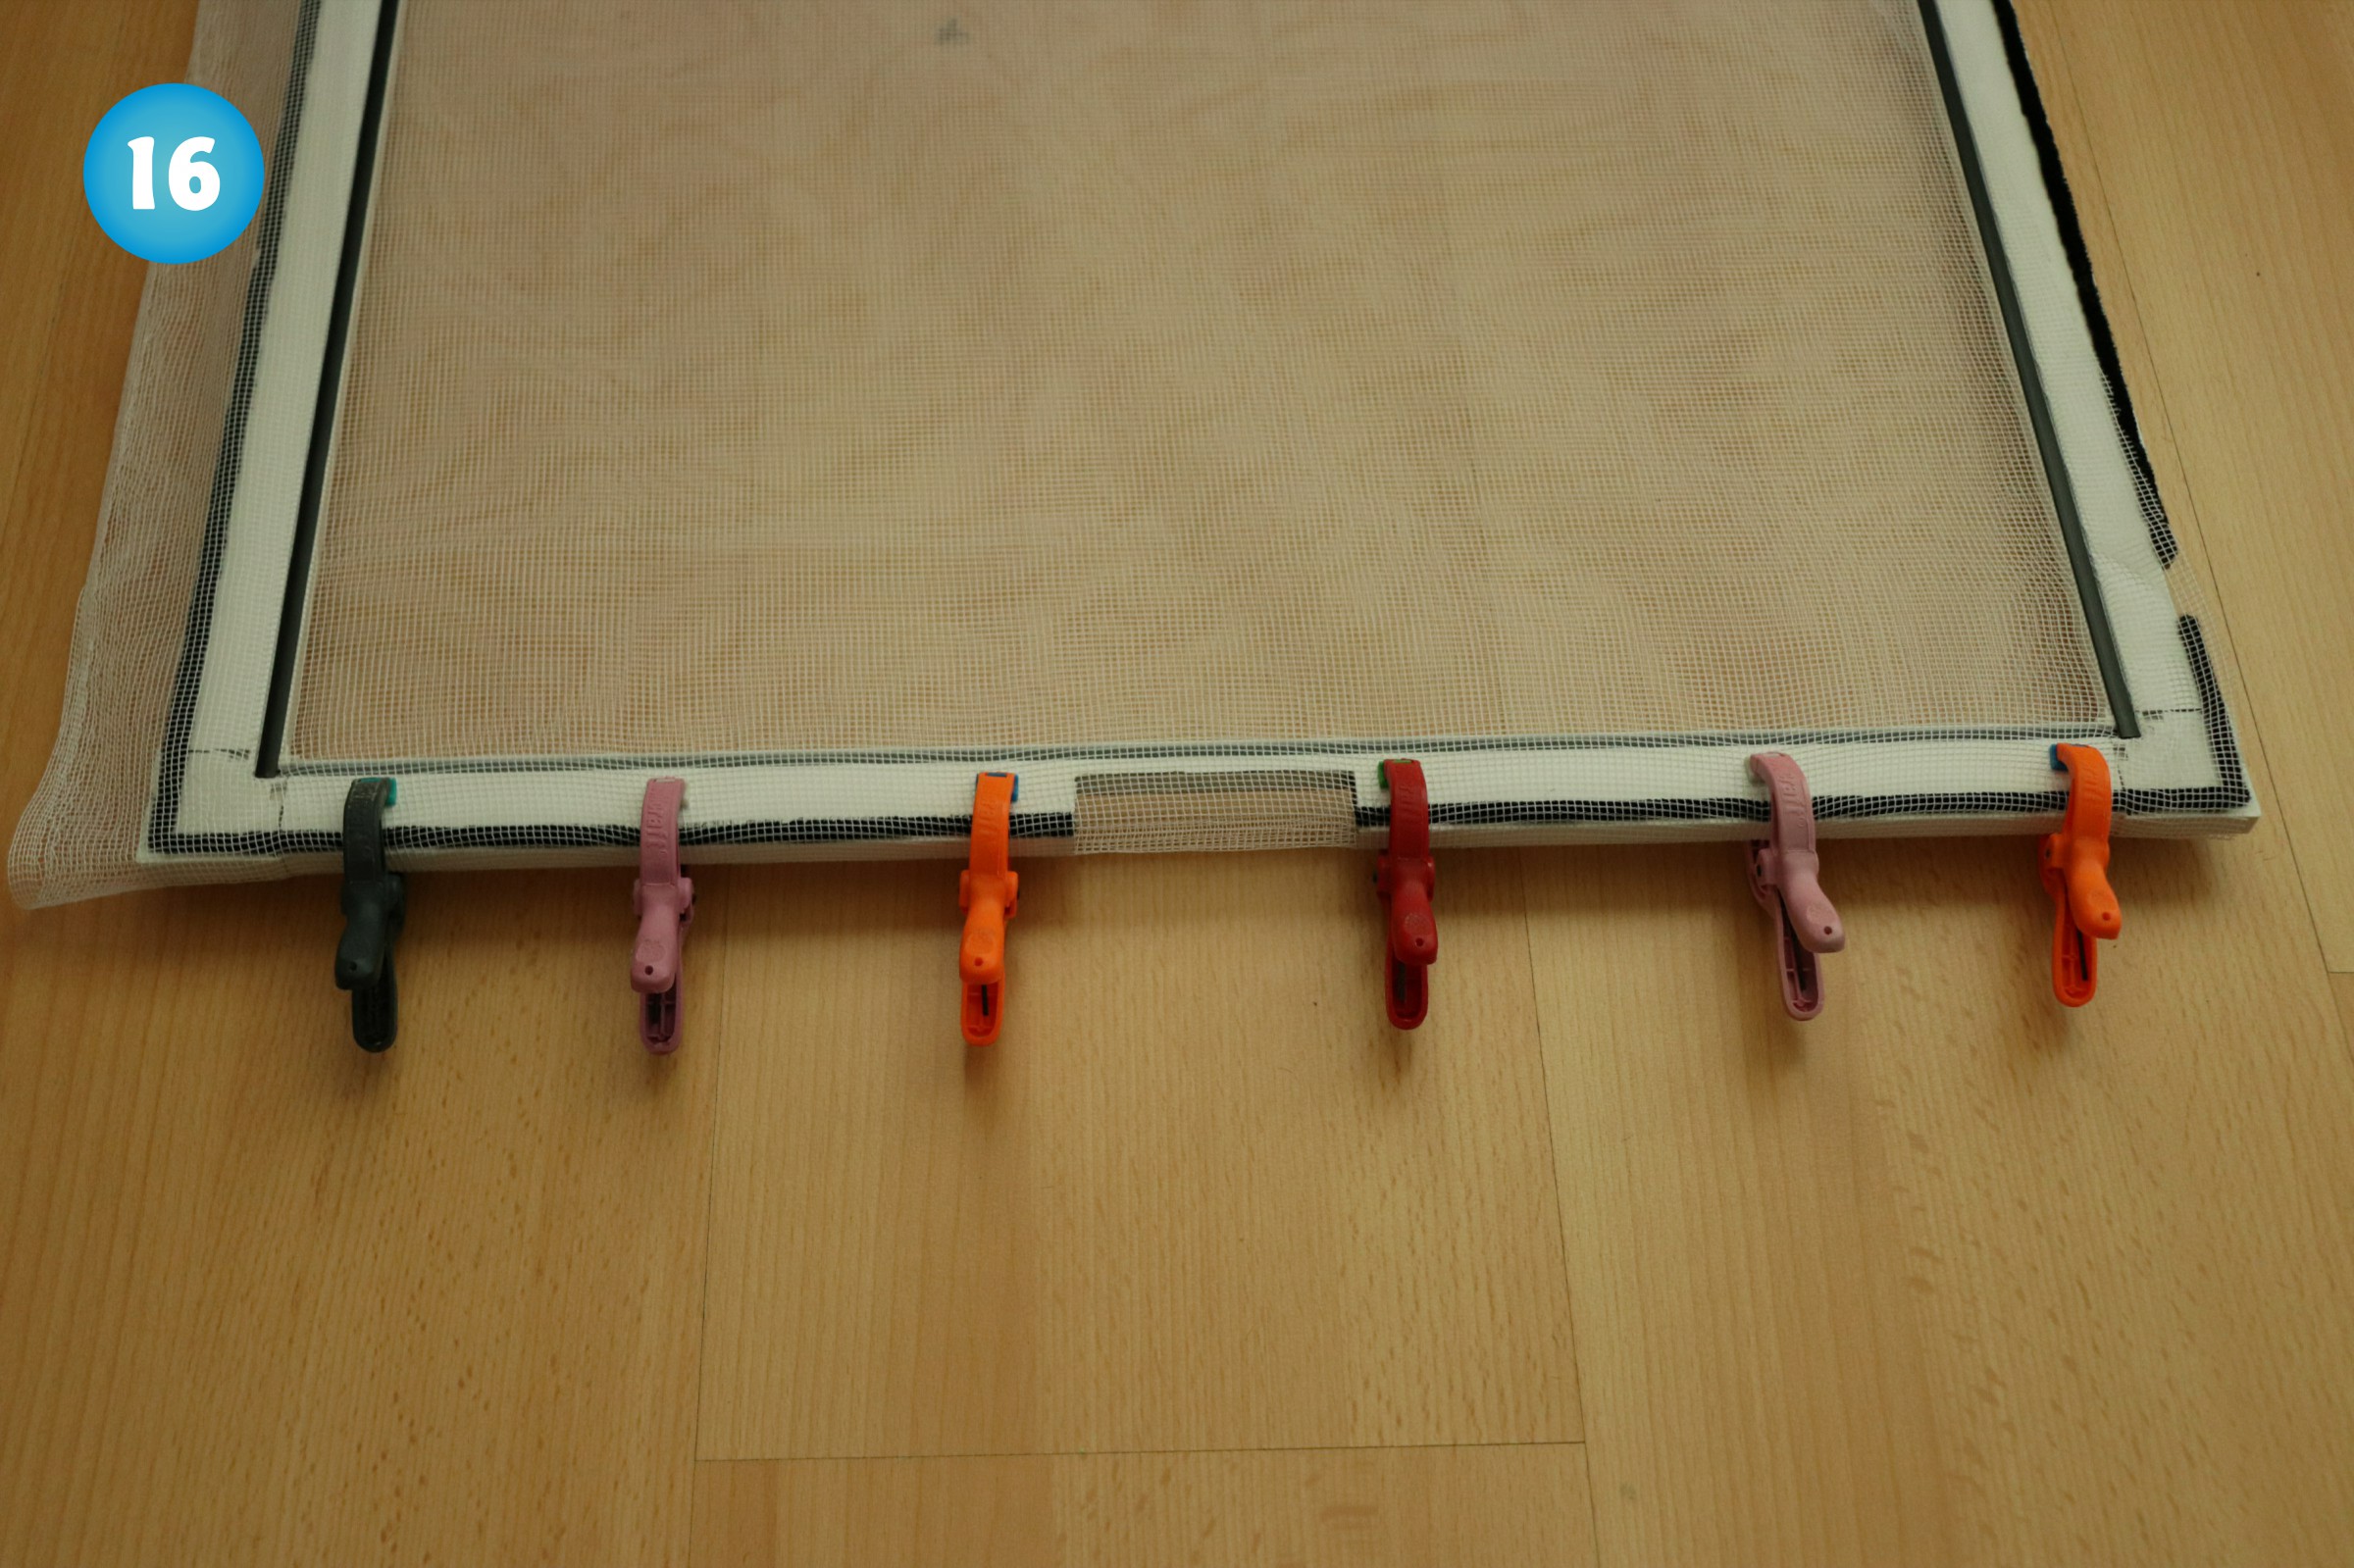
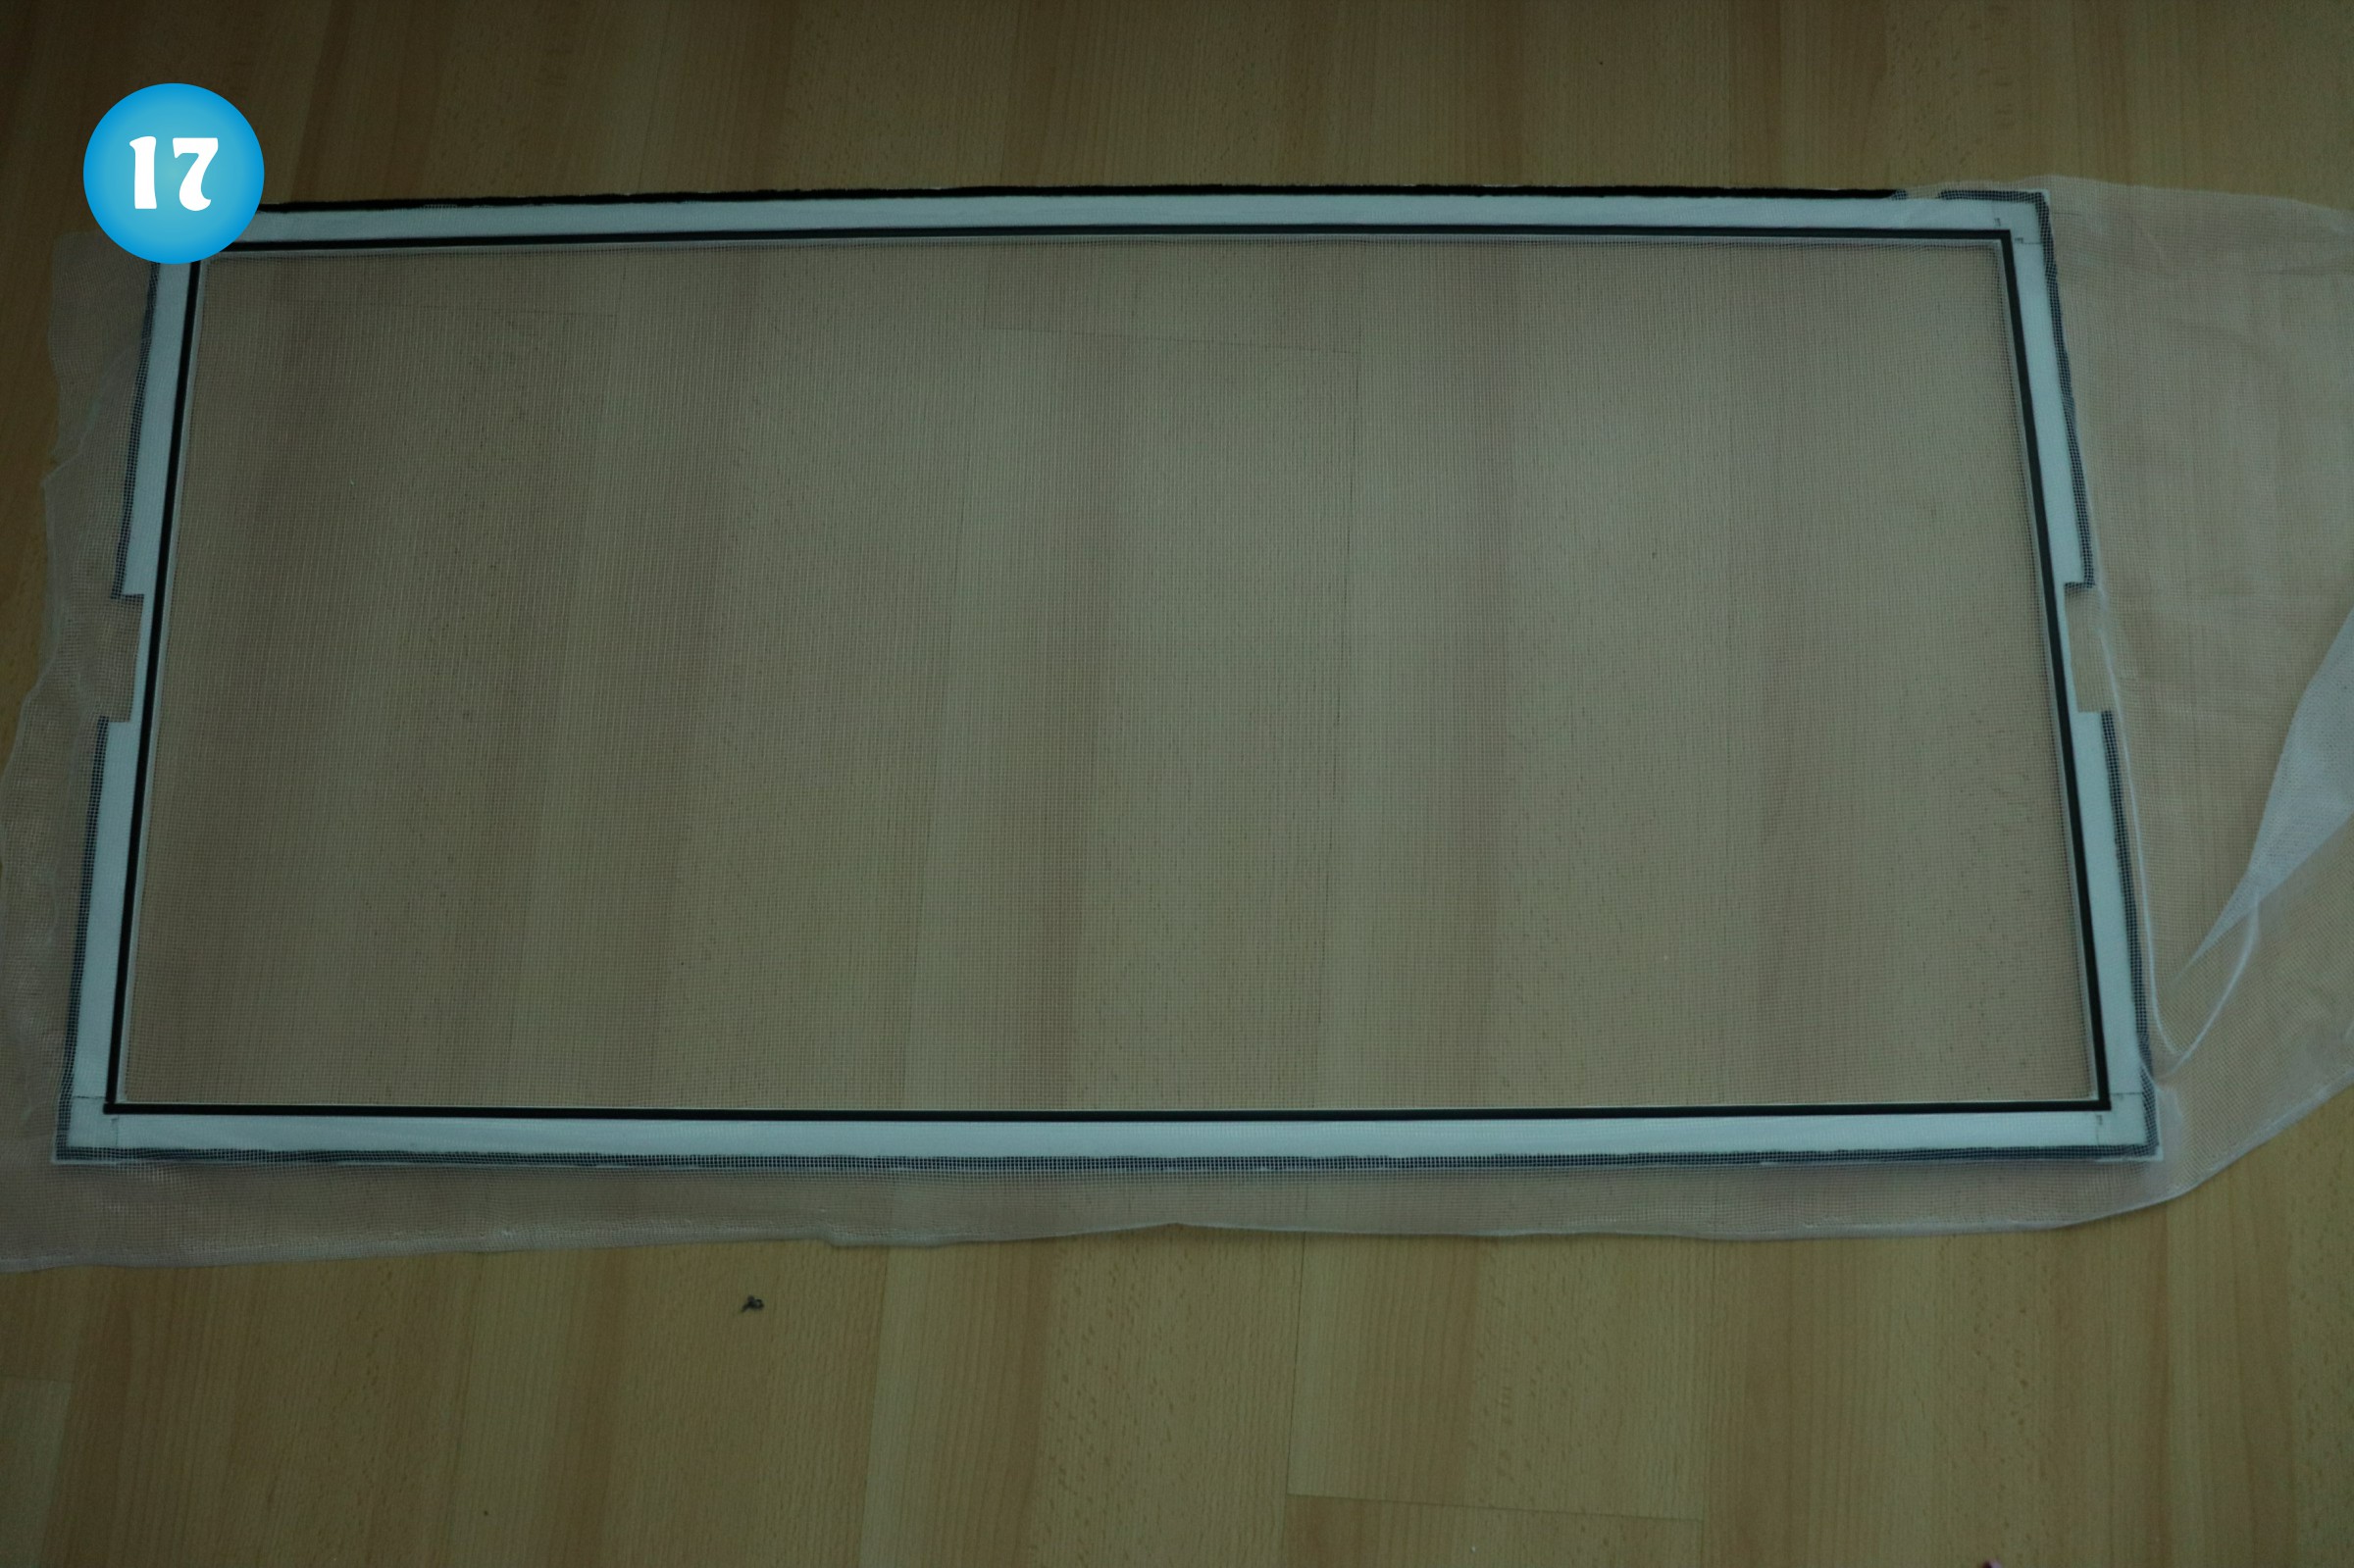
When the frame was ready it was time to span the net, but first of all I added a felt strap on the outer edges of the frame (photo 15). Then I spanned the net, cliped it using clamps and pushed the plastic pieces into the grooves in the frame to finally attach the net, spanning it a little bit more before pushing the clip and removing clamps one after another (photo 16). The final step was cutting the excessive net off using the sharp knife or scalpel (photo 17). You can see the final effect in the last photo.
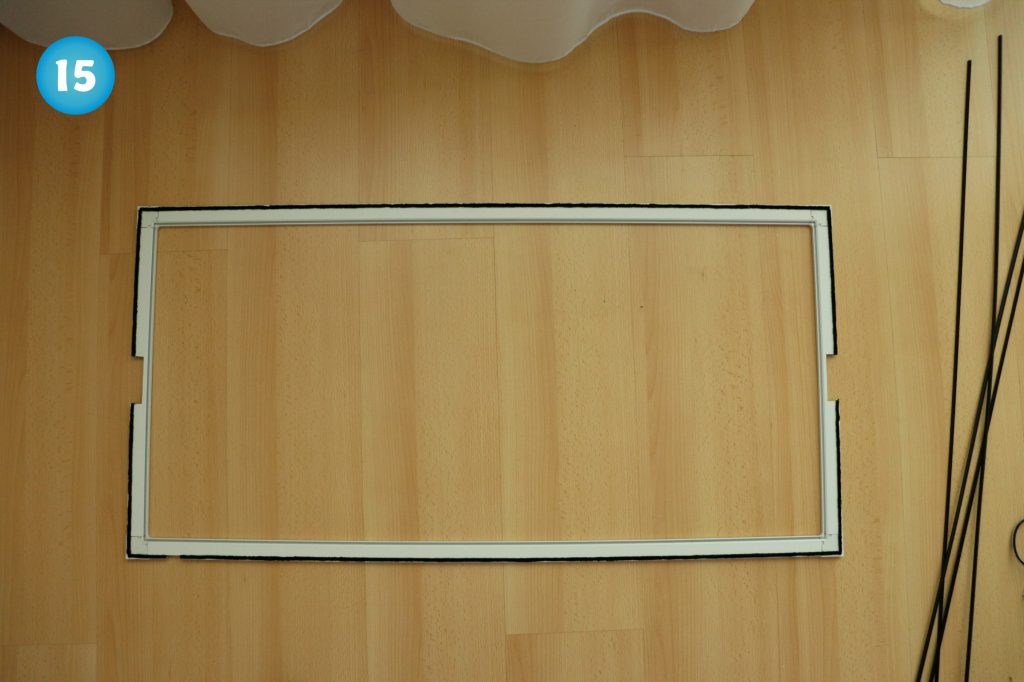
Frame with felt strap 
Spanning the net 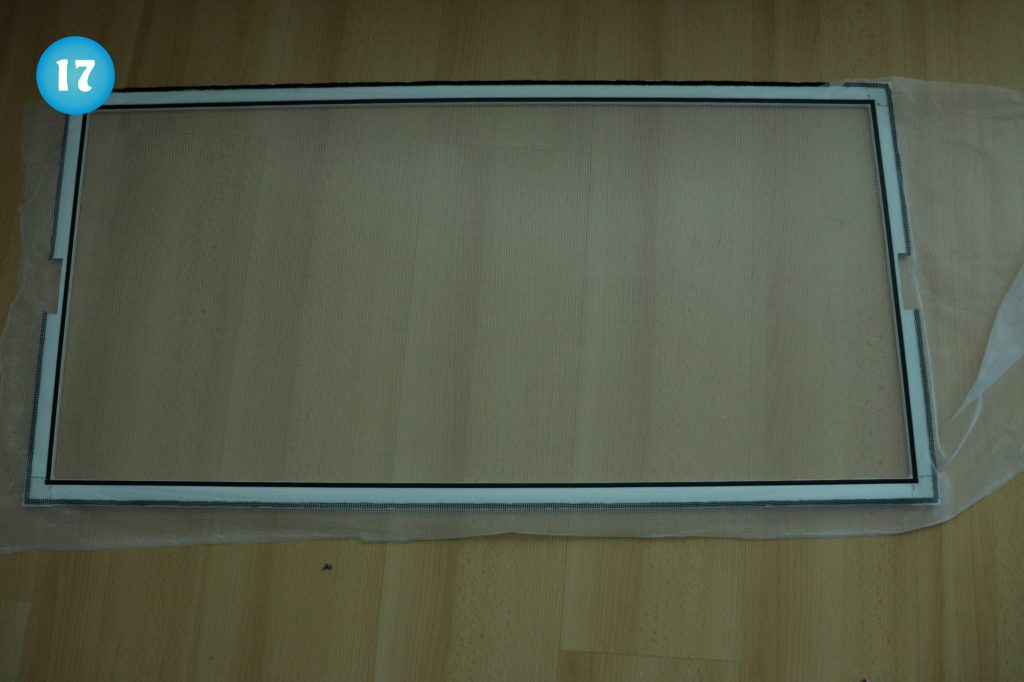
Almost ready lid with spanned net 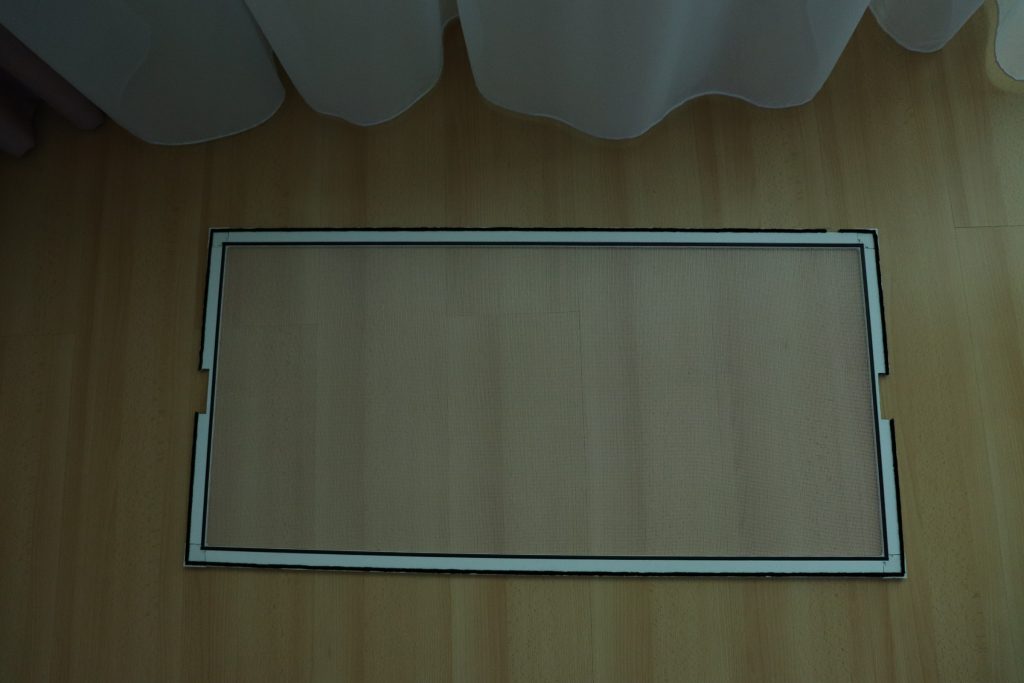
The final effect – ready lid after cutting off the excessive net


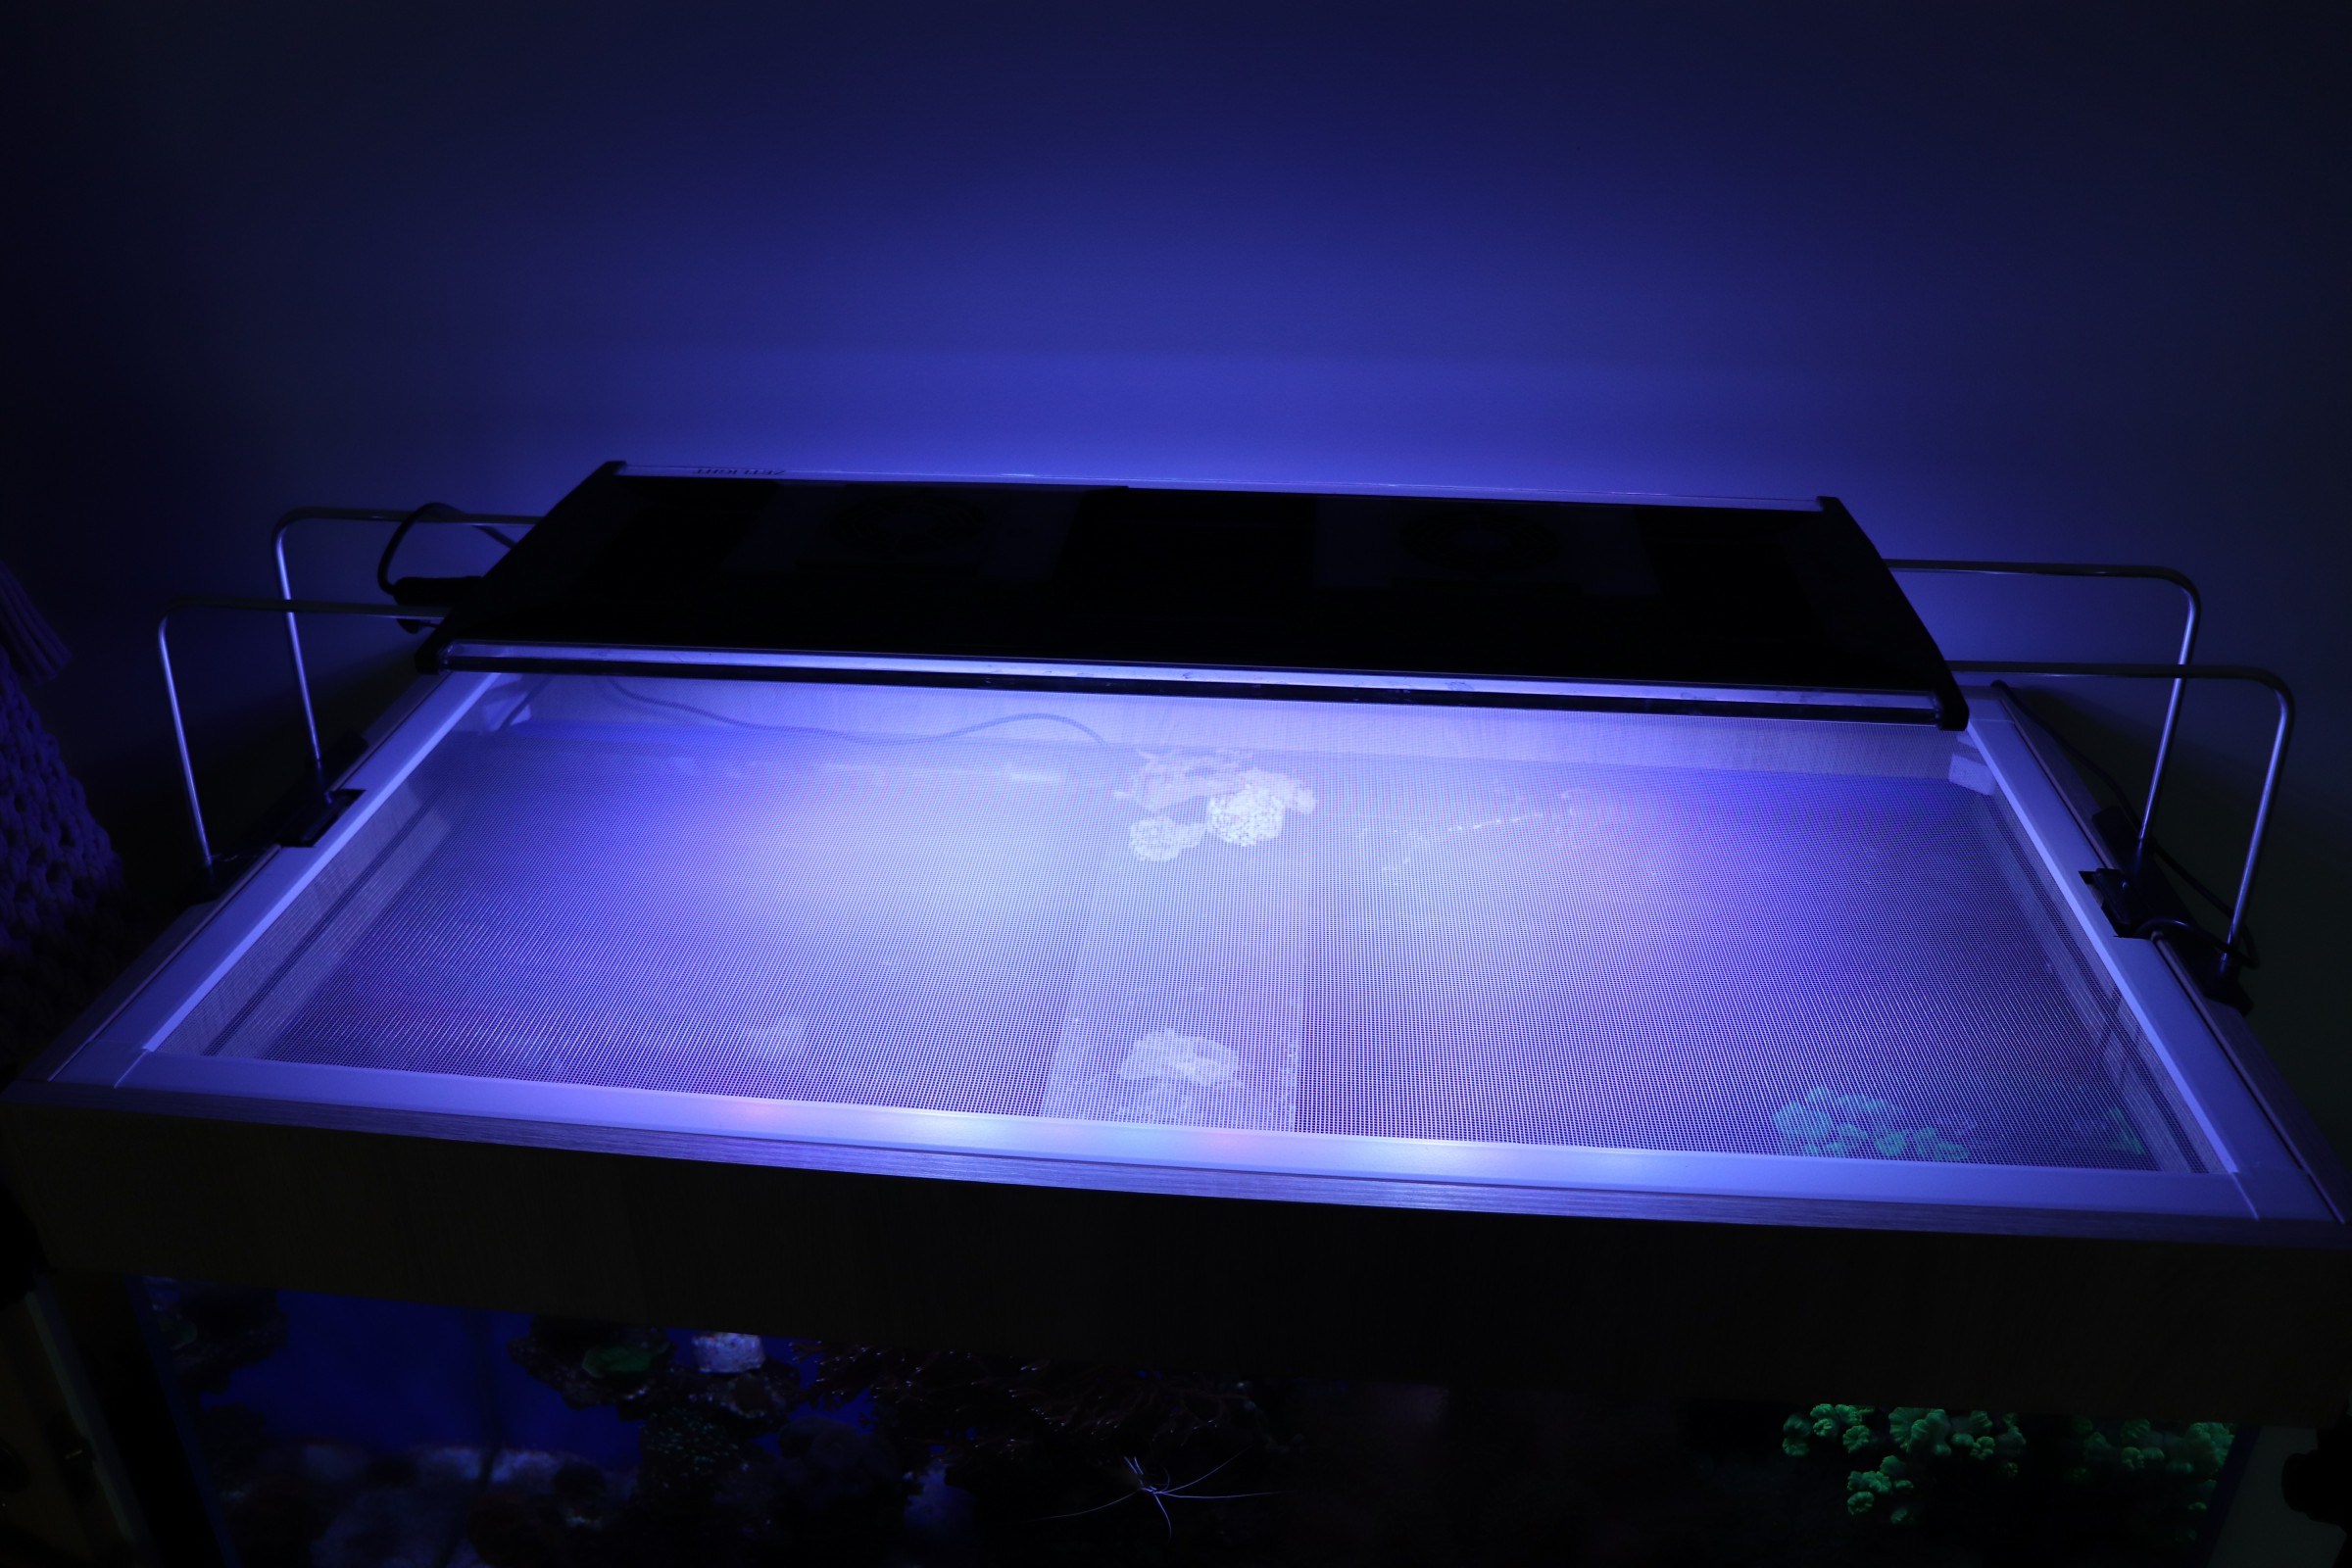
Finally the lid was mounted over my tank and I have to say, that I’m satisfied with the effect. It do not stop too much light and is dense enough to prevent even the smallest fish from jumping out of the tank.

I hope you enjoyed this first DIY post on my blog and if you have any questions or ideas for the future DIY posts, just let me know in the comments.
Yours,
Adam